
Commercial freezers are indispensable equipment in many commercial kitchens and retail establishments. The compressor, as its core component, directly affects the refrigeration effect of the freezer once problems occur. This article will provide you with some basic inspection steps to help you quickly diagnose and solve compressor failures.
Step 1: Safety Check
Before starting the inspection, make sure the power supply of the freezer has been cut off to ensure safety. Check if the power cord is damaged and if the socket is working properly.
Step 2: Appearance Check
Observe whether there is obvious damage on the outside of the compressor, such as cracks, leaks, or other abnormal conditions. Check if the connecting pipes have signs of looseness or damage.
Step 3: Temperature and Pressure Testing
Use a thermometer and pressure gauge to detect the inlet and outlet temperatures and pressures of the compressor. Under normal circumstances, the outlet temperature of the compressor should be higher than the inlet temperature, and the pressure should be within the normal range.
Step 4: Electrical Check
Check the compressor's motor to ensure there is no short - circuit or open - circuit. Use a multimeter to detect the resistance of the motor windings to ensure it is within the normal range.
Step 5: Refrigerant Check
Check if the refrigerant charge is sufficient. Insufficient refrigerant may cause the compressor to overheat. At the same time, check if there is a refrigerant leak.
Step 6: Professional Repair
If the above steps cannot solve the problem, professional repair services may be required. Please contact the manufacturer or professional maintenance personnel for further inspection and repair.
Maintenance Suggestions
Regular maintenance of commercial freezers can prevent compressor failures and extend the service life of the equipment. It is recommended to conduct at least one professional maintenance inspection per year.

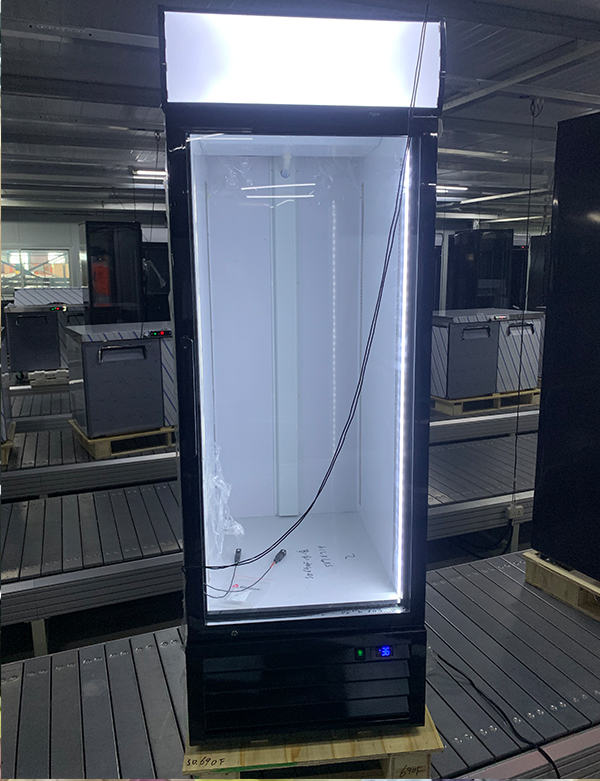
This batch of products seems to be of good quality.